
How to make Kandi bracelets: best tips to follow (with videos)
For many years, Kandi has played a significant role in EDM culture. One of the first things you will learn when you are initially exposed to raving is how to produce Kandi and trade with individuals using the PLUR handshake.
Trading Kandi might assist you in meeting new people if you go to an event with the goal of making friends. Whether you are a seasoned raver or fresh to the scene, exchanging Kandi holds special meaning for many people.
If you want to push yourself and make Kandi cuffs, here is a lesson on how to do it. Let’s start!
How to make Kandi bracelets - what you need
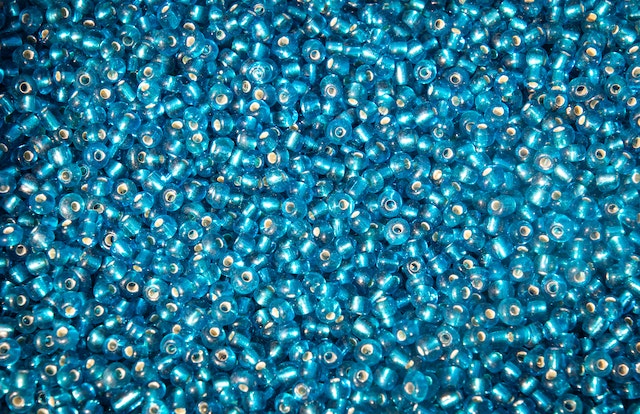
Breads
Any type of bead can be used to produce Kandi, although the ost common ones are made of plastic most often plastic. T here are several varieties of plastic beads, and each one gives your Kandi a special and intriguing aspect. We all used pony beads as children; these are the traditional, large, round-edged beads.
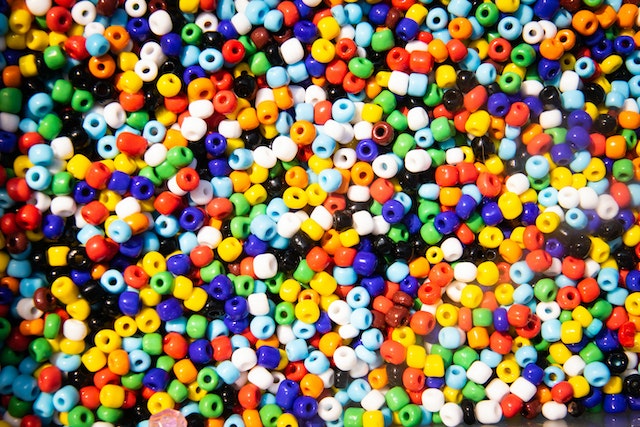
Perler beads and peyote beads are comparable, but peyote beads have rounded edges and occasionally are made of glass. Imagine them as a broader, more compact variation of pony beads. The most elaborate designs will result from these, but they are also the most challenging to deal with.
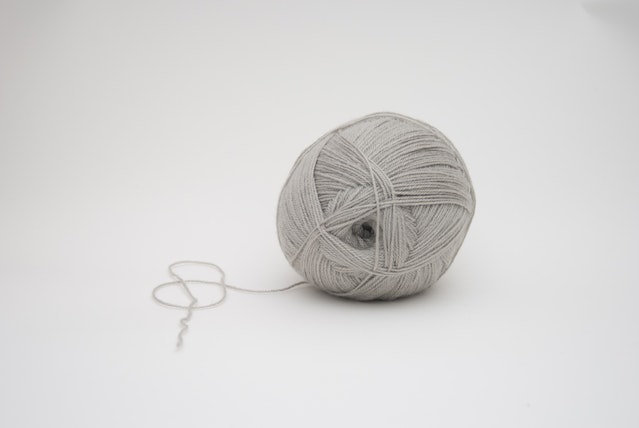
String
As long as the string contains some elastic to allow for stretch, most string types will work. Although it is not as comfy as cloth string, using elastic plastic thread allows you to keep the plastic motif the beads have. Plastic string is not recommended since it gradually starts to dig into your wrist.
As long as the string isn't too big, cloth string with a little elastic is an excellent alternative. Make sure that whichever thread you choose is thin enough to pass through each of your beads twice without difficulty.
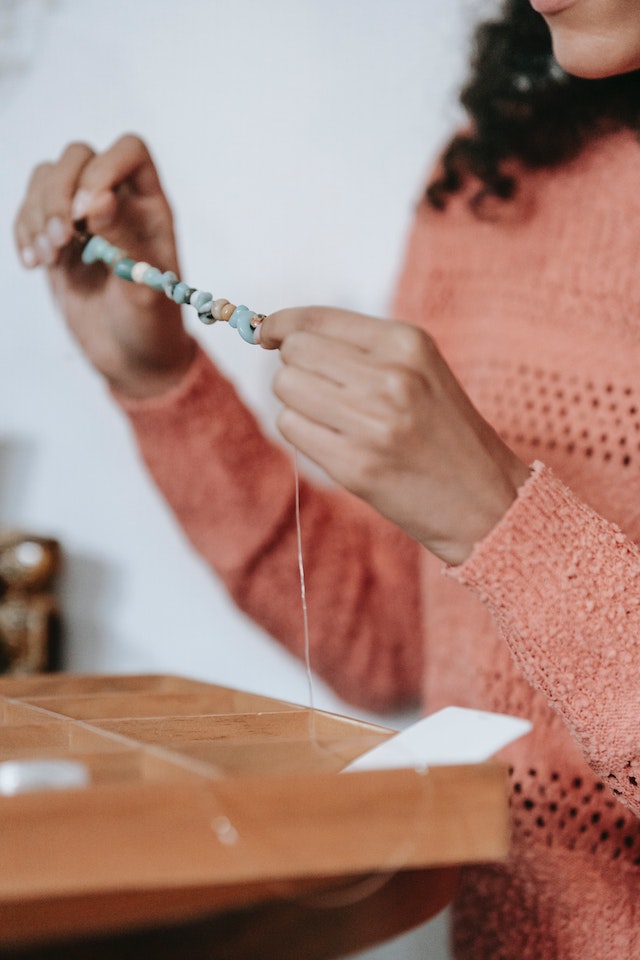
How to make single Kandi
1 Take the string and wrap it around your wrist to determine the approximate amount of elastic string required for one bracelet. Cut the necessary quantity with some excess string to make future adjustments simple.
2 Choose a design for your bracelet or if you want any phrases on them (such as "PLUR," "I adore raving," etc.).
3 Put the rope through the beads. The required letters should be placed in the center, with an equal number of pony and ornamental beads placed on either side. Around 30 beads are an excellent quantity to have on a bracelet.
4 Double knotting is advised when tying off the string. Trim any extra string.
How to make Kandi Cuffs
1 You should measure your string. To obtain a rough idea of the length, wrap your thread around your wrist like you would when constructing a single-strand Kandi piece.
2 Start beading the cuff. Select a bead pattern that you like; it might be intricate or extremely basic and geometric. Numerous websites provide patterns that you may use to create images on your wristband. Put enough beads on the rope to fully surround your wrist.
3 Close the circle by knotting it. One end of the elastic will be quite short and the other very long. The long end will keep getting more rows of beads added.
4 Add another row of beads. To do this, proceed in a circular pattern past the first row's halting point one row higher. Every other bead in the second row should be threaded through a bead in the row below it on the first row. Your beads will therefore be spaced out between rows rather than vertically aligned.
5 Continually create new rows. Repeat step #3, passing your string through every other bead in the row underneath the bead you are threading through. You may repeat this for as many rows as you like or until your string runs out. If you used elastic thread, your rows should have begun to stand up by this point, forming the more pronounced cuff shape.
Given that there are several varieties of Kandi cuffs, there are several straightforward YouTube videos available for making them. A video is worth more than a thousand words, so please check the videos below to see how different kinds of kandi cuffs are made.
How to make Kandi bracelets - Conclusion
We sincerely hope you enjoyed learning how to create kandi. Begin right now to create your own Kandi and share them with the people you meet at every festival or rave you attend. You will undoubtedly have the potential to establish meaningful connections with individuals that will last a lifetime if you do this.
If you liked this post and would want to read more advices and general information about the music industry, please visit our blog section.
You're here because you love music, so please try to listen to it together with your friends or strangers, at the same time, connected by webcam in CalypsoRoom.
In CalypsoRoom we believe music is the most powerful tool to bring people together, and for this reason, we developed an online music social network where you can connect with friends or strangers while listening to music simultaneously, connected via webcam. Check it out.
Thanks for reading,
CalypsoRoom Team
back
Written by CalypsoRoom Editorial Team
The CalypsoRoom Editorial Team is a skilled and diverse group of writers, researchers, and industry specialists who have access to Calypso's data and information in order to give you broad knowledge about the music industry as well as helpful advice to help you manage your music and dancing career.
Updated January 2023


Company number: 681223
James's Walk 31, Dublin, Ireland
contact@calypsoroom.com
+353 (89) 435 8928